How to Create a Drop-Down Quiz in 7 Steps

A drop-down question allows users to select from a drop-down list of suggested answers. This is the reason why in iSpring QuizMaker we call it ‘Select from lists’ for your convenience. A drop-down list is basically the key difference between a drop-down quiz and a multiple-choice quiz; it is an instrument to make tests more entertaining and concise. Implementing drop-down questions can be helpful mainly for optimizing your material and saving screen space to use it more effectively.
In this article, we’ll show you an example of a drop-down question and provide a step-by-step guide on how to create a drop-down quiz in iSpring QuizMaker.
Step 1. Install iSpring QuizMaker
iSpring QuizMaker allows you to create professional eLearning quizzes without the help of designers or programmers. To see how it works, download a free trial. You can create an unlimited number of quizzes during 14 days and use all of the tool’s capabilities to the fullest. After you download the tool, install QuizMaker on your computer.
Step 2. Create a Quiz
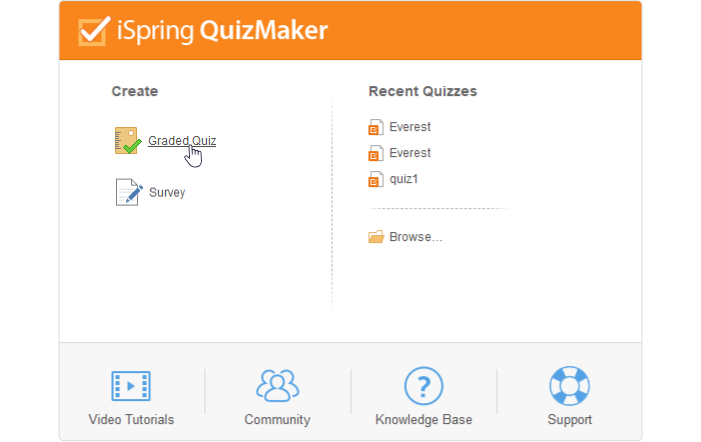
Open the app and click on Graded Quiz.
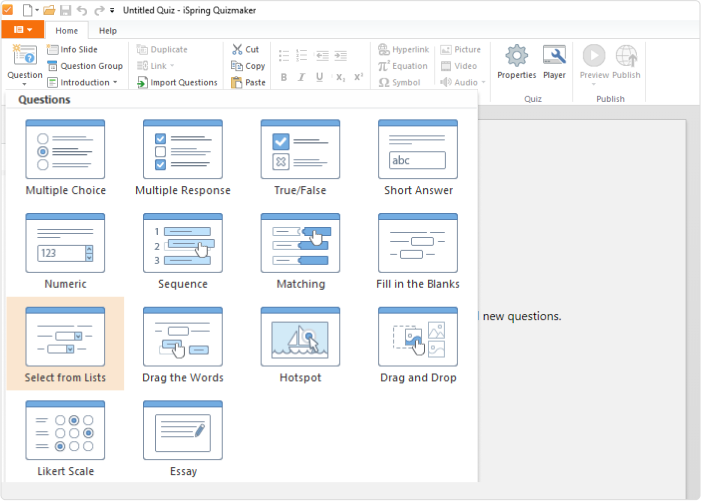
There are 14 types of questions in iSpring QuizMaker. To choose the desired type, click the Questions tab. For a drop-down quiz, choose ‘Select from lists.’
Step 4. Fill In the Question Template
Enter a task in the question field.

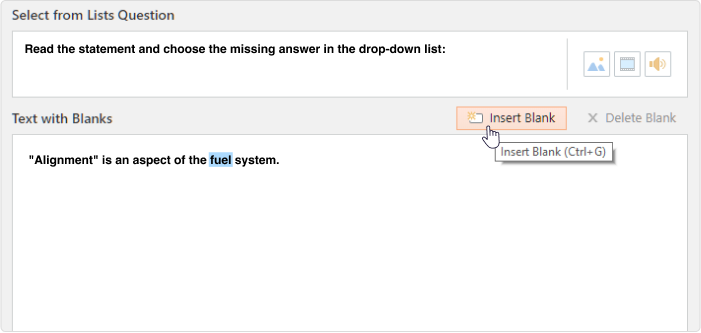
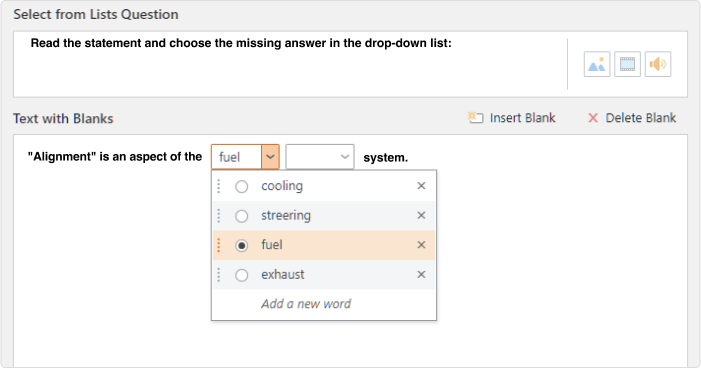
In Text with Blanks, enter the text and replace a word or a phrase with a drop-down list by selecting it and clicking on the Insert Blank button or using Ctrl + G.
In each blank, there must be at least two options. To add another answer option, click on the Add a new word line.
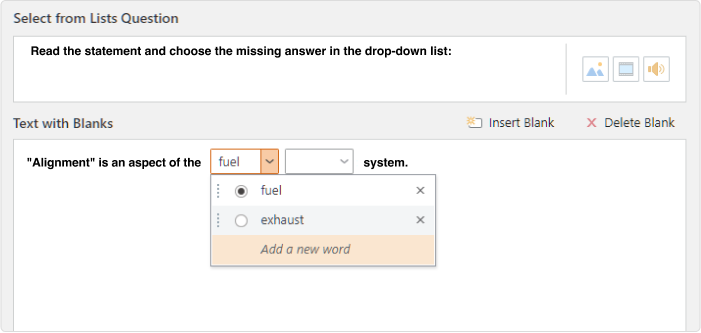
This is what a completed drop-down question sample looks like in Form View.
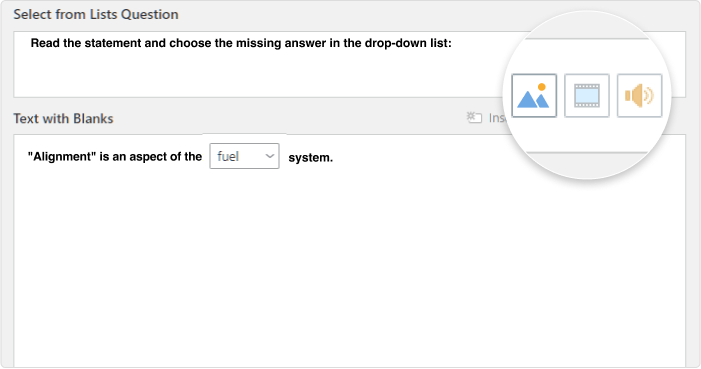
You can also add images, videos, or audio recordings that support your idea by choosing a relevant option in the right menu.
Step 5. Configure the Quiz Settings
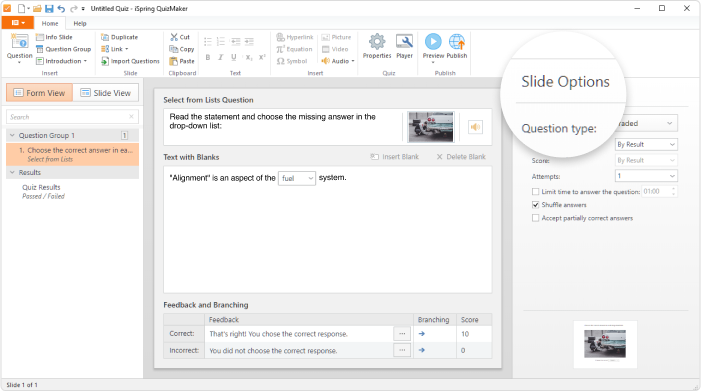
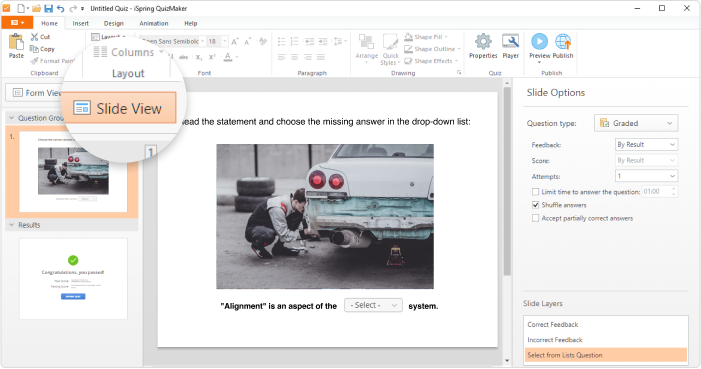
In Slide Options on the right side, you can choose whether your quiz will be graded or not, how it will be scored, how many attempts to pass will be allowed, whether partially correct answers will be accepted, and can set a time limit to answer your drop-down question.
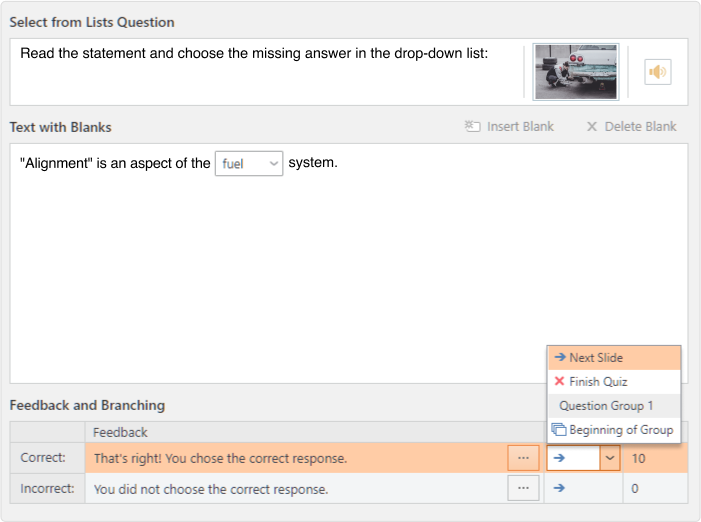
In the Feedback and Branching section below, you can decide what feedback your students will get depending on their result, define which slide your students will be sent to if they pass or don’t, and can set up scoring.
Step 6. Design Your Drop-Down Quiz
You can complete your drop-down question sample in Slide View. In this mode, you can change the appearance of the slide by moving objects, changing fonts, and selecting a background.
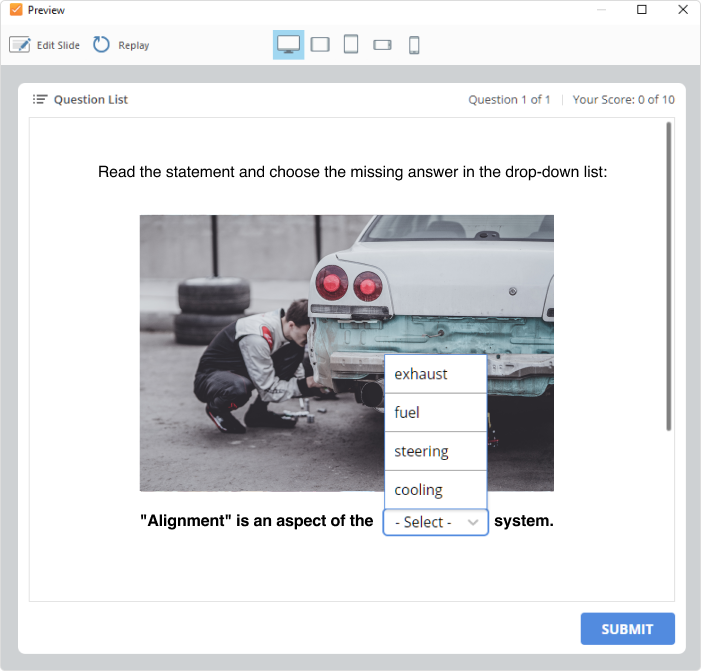
To see how the drop-down quiz will look on a tablet, smartphone, or computer, click on the Preview button.
Step 7. Publish Your Quiz
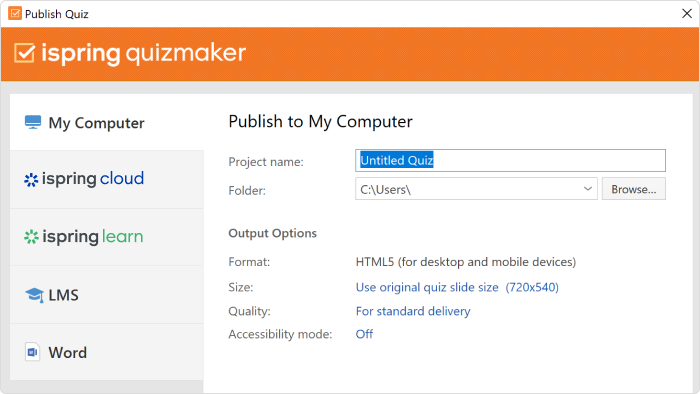
Once you have finished creating your drop-down quiz, click Publish and select a destination for your file. For example, you can publish it directly to your computer in HTML5 format for viewing on the Web. If you’re going to publish the quiz to an LMS, you can choose an LMS profile like SCORM or xAPI. Or you can upload it directly to iSpring Learn LMS or iSpring Cloud. You can also transform your quiz into a Word document for printing.
Summary
Drop-down questions can make your quiz more varied and save screen space. Use them together with the 14 other types of questions provided by iSpring QuizMaker by starting your free trial today!


