How to Compress a PowerPoint Presentation


Large PowerPoint files can be difficult to share via email and take up valuable storage space. Fortunately, there are several ways to reduce the size of a PowerPoint presentation without compromising its quality. This guide will walk you through different compression methods, including optimizing images, videos, and audio, saving as a PDF, and using compression tools like iSpring Converter Pro.
When Is Compressing a PowerPoint File Beneficial?
Compressing a PPT file can be useful in several scenarios:
- Email attachments. Many email services limit attachment sizes, making it hard to send large PPT files.
- Faster uploads and downloads. Reducing file size speeds up file transfers, whether you’re sharing via cloud storage or uploading as SCORM to an LMS.
- Smoother presentations. A smaller file size helps PowerPoint run more smoothly, reducing lag when switching slides.
- Optimized storage. Compressing files frees up space on your device, which is especially useful when working with multiple presentations.
Tips to Reduce PowerPoint File Size Without Losing Quality
If your presentation contains large images, videos, or other media, you can reduce its size using built-in tools or external compression methods. Here are the five most effective ways:
| How to compress a PPT file | Use case |
| If your presentation contains high-resolution images, this method significantly reduces the file size, making it easier to send via email. | |
| If your presentation includes videos, compressing media ensures smoother playback and faster file sharing. | |
| 3. Save your presentation as a PDF | If your presentation doesn’t require animations, converting it to a PDF is a great way to keep text and images intact. |
| 4. Use a ZIP archive | Ideal for storing and transferring multiple presentations. |
| 5. Use an external converter | Use iSpring Converter Pro for lossless compression while preserving animations, videos, and embedded fonts. |
Below, we’ll walk you through each method step by step to help you compress PPT files while keeping your presentation visually appealing and easy to share.
Compress a PowerPoint file by reducing the size and quality of your images
Optimizing images is one of the easiest ways to reduce PowerPoint file size while maintaining good visuals. Here’s how:
1. Click on any image in your presentation.
2. Go to the Format tab and select Compress Pictures.
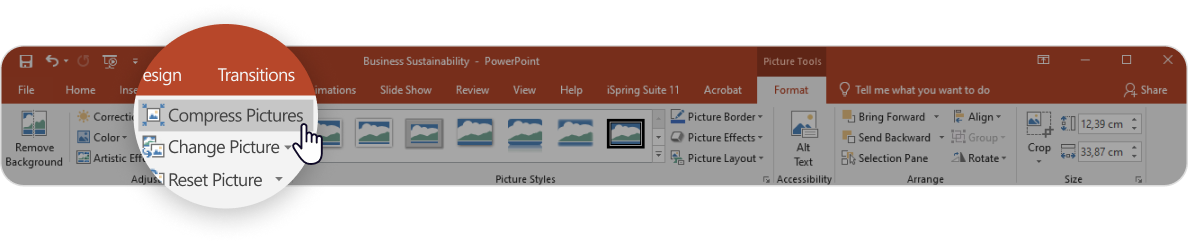
3. In the pop-up window, uncheck Apply only to this picture if you want to compress all images in the presentation.
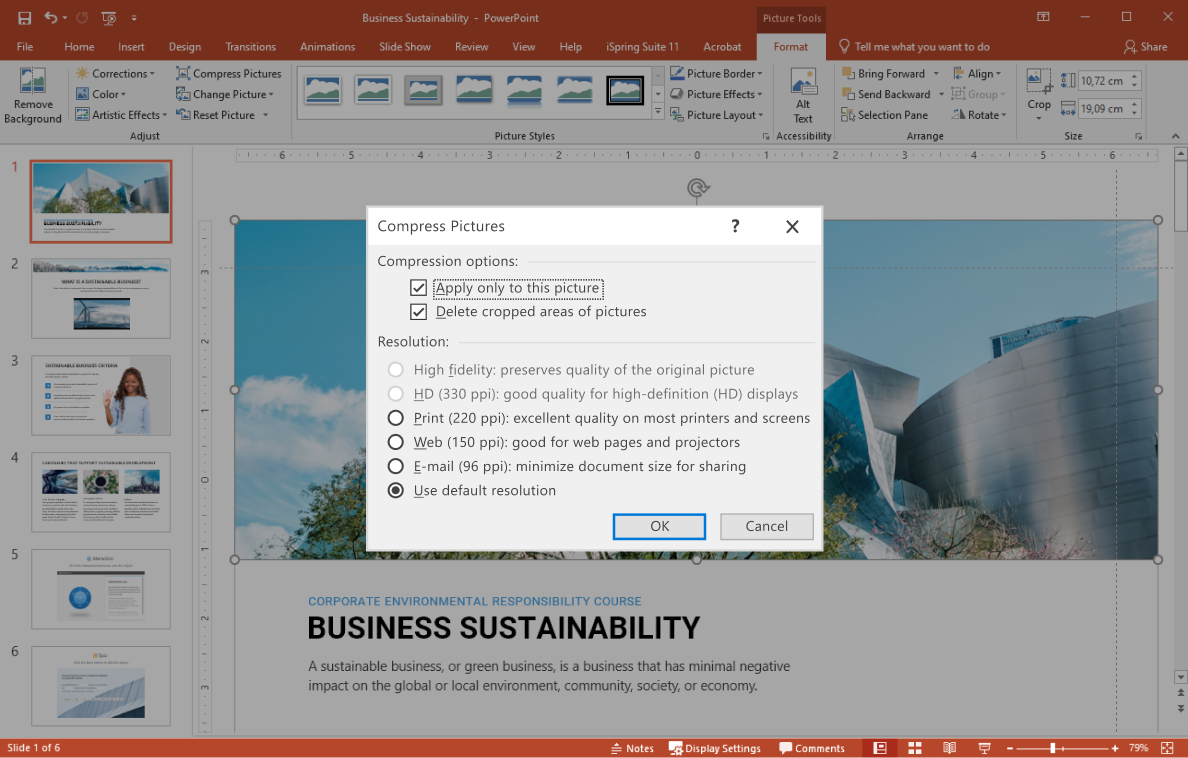
4. Choose a lower resolution, such as 150 ppi (web) or 96 ppi (e-mail).
5. Click on OK to apply the changes.
Compress a PowerPoint file by reducing the size of audio and video files
Presentations with embedded media files tend to be large. Fortunately, PowerPoint has a built-in compression feature for multimedia:
- Open your presentation and go to the File tab.

2. Click on Info and select Compress Media.
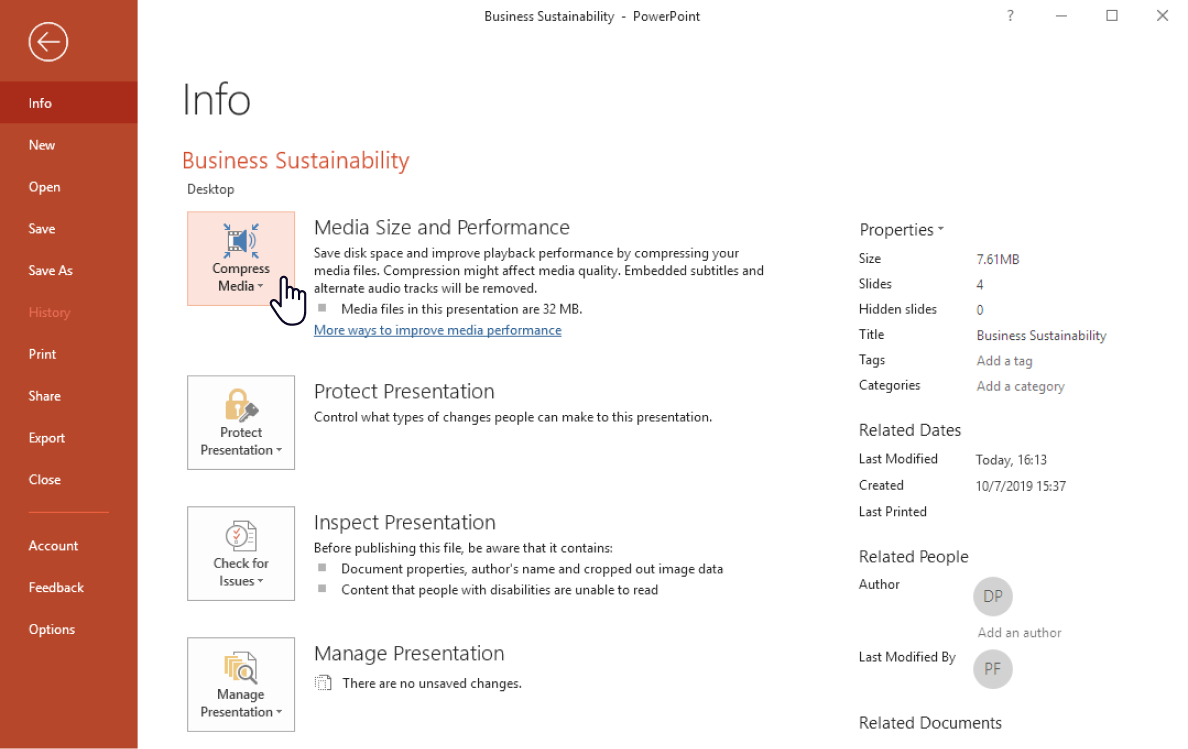
3. Choose from three options:
- Presentation Quality – slightly reduces size while maintaining high quality.
- Internet Quality – optimized for web use, balancing quality and file size.
- Low Quality – maximum compression, best for small file sizes.
4. Wait for PowerPoint to compress your media files, then save the presentation.
Note: this feature is only available in PowerPoint for Windows, not in PowerPoint for Mac. Also, the tool might lower image quality.
Compress a PowerPoint file as a PDF
Saving your presentation as a PDF is another way to create a smaller file:
1. Click on File > Export.
2. Choose the Create PDF/XPS Document option.
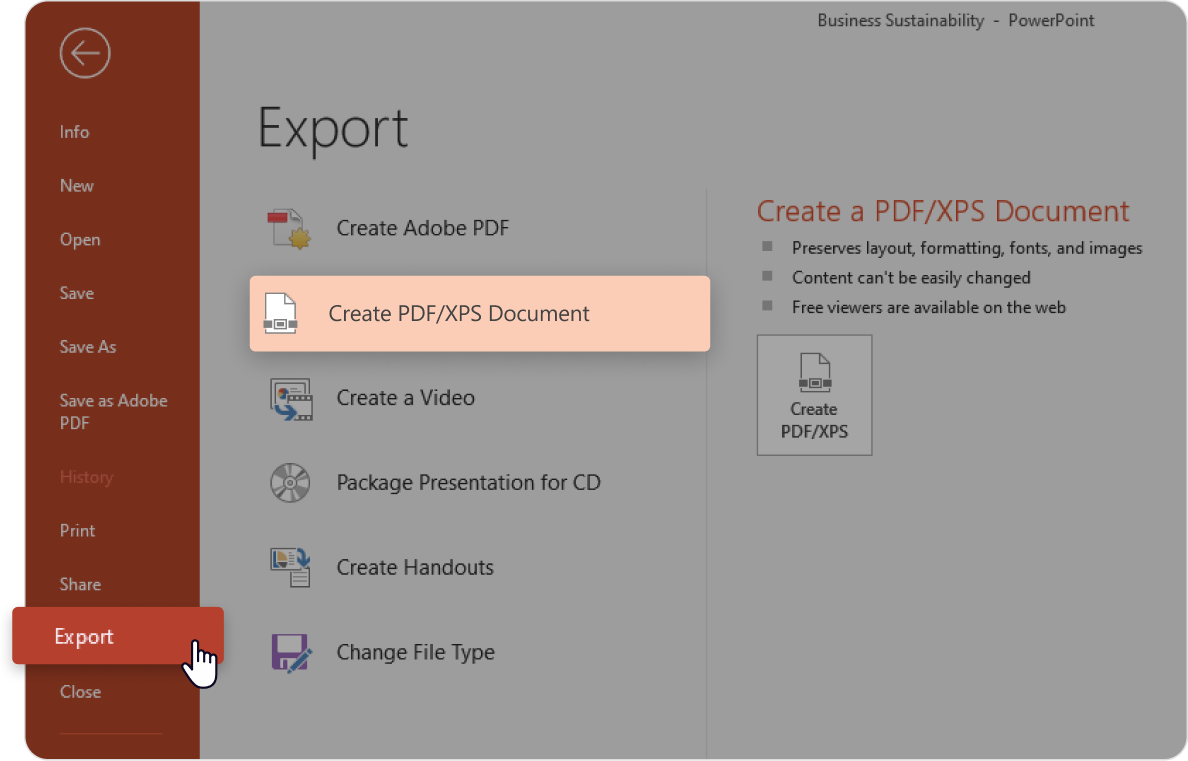
3. Type in the file name, click on the Minimum size publishing option, and save your compressed file on your computer.
Compress PowerPoint Files as a ZIP file
For further optimization, you can archive your presentation as a ZIP file:
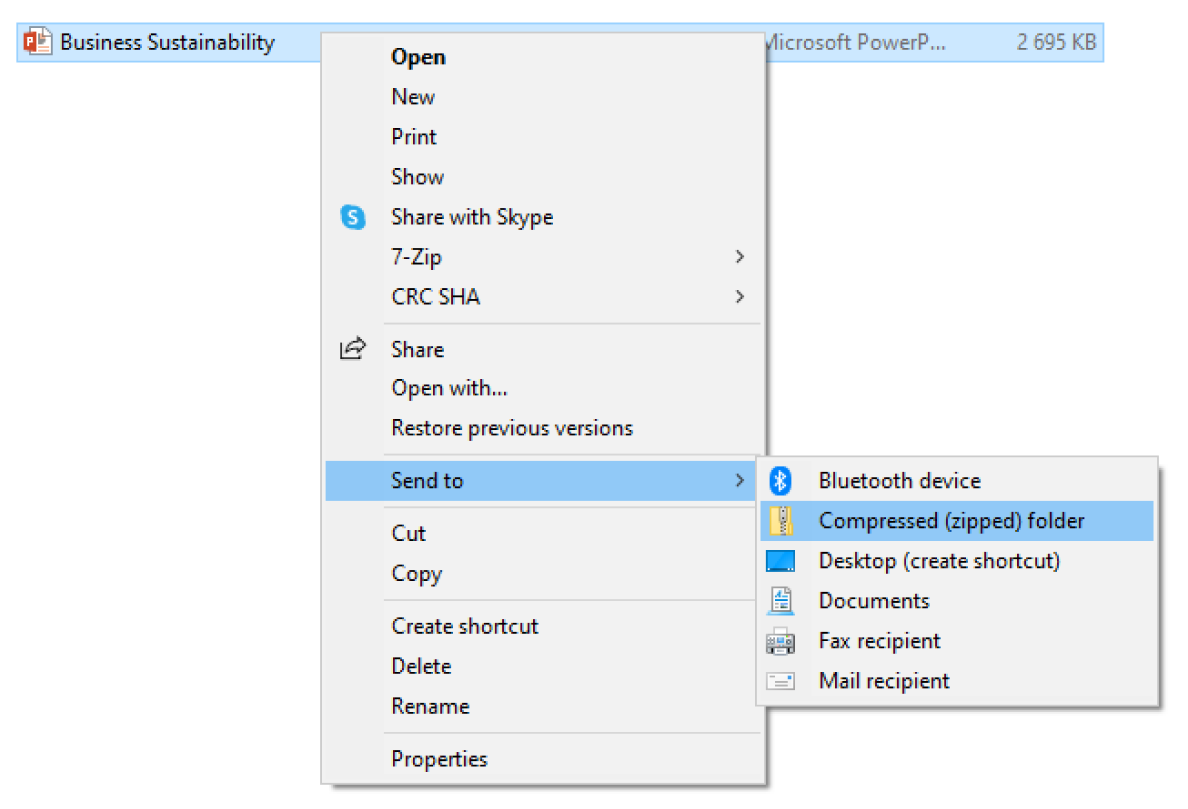
1. Right-click on your PPT file.
2. Select Send to > Compressed (zipped) folder.
Use an external converter for the best quality
If you need to reduce your PowerPoint file size while keeping all visuals and media intact, built-in tools might not be enough. External converters like iSpring Converter Pro offer a more advanced solution:
- Compress without losing quality – keep images sharp, text clear, and playback smooth.
- Preserve animations, videos, and fonts – no need to sacrifice interactive elements.
- Optimize for web and LMS – convert presentations into a lightweight format for seamless online sharing.
This ensures that your presentation remains fully functional while significantly reducing the file size.
Compressing PPT files on macOS and Windows
PowerPoint offers different compression options depending on the operating system. On Windows, built-in tools help reduce file size, while macOS has fewer native features for this. To facilitate the process, we’ve outlined separate methods for each system so you can choose the way to compress your presentation that’s best for you.
How to compress PPT files on macOS
Since PowerPoint for Mac lacks the Compress Media feature that’s available on Windows, you’ll need to optimize different elements of your presentation manually:
- Compress images. Select an image, go to Format > Compress Pictures, choose a lower resolution, and apply changes to all images.
- Reduce embedded video size. PowerPoint for Mac doesn’t allow built-in video compression, so it’s best to optimize videos before inserting them. Tools like QuickTime can help reduce video size without sacrificing quality.
- Save as a PDF. If animations and transitions aren’t required, convert your presentation to a PDF by going to File > Export > Create PDF to reduce the file size significantly.
- Use a ZIP archive. Right-click on your PPT file, select Compress, and macOS will generate a smaller ZIP version for easier sharing.
The best way to compress PowerPoint files on Windows
For a faster, more effective way to compress PowerPoint files on Windows, iSpring Converter Pro offers an all-in-one solution. Instead of adjusting images, videos, and other media manually, Converter Pro automatically optimizes your presentation, ensuring high-quality visuals, animations, and transition effects while reducing file size. With iSpring Converter Pro, you can:
- Compress images, videos, and audio without losing quality.
- Convert PowerPoint to HTML5 and SCORM, creating a lightweight, mobile-friendly file.
- Preserve animations, transitions, and interactivity for seamless playback.
You can compress your presentation as follows:
1. Get a free trial of iSpring Converter Pro – it integrates directly into PowerPoint.
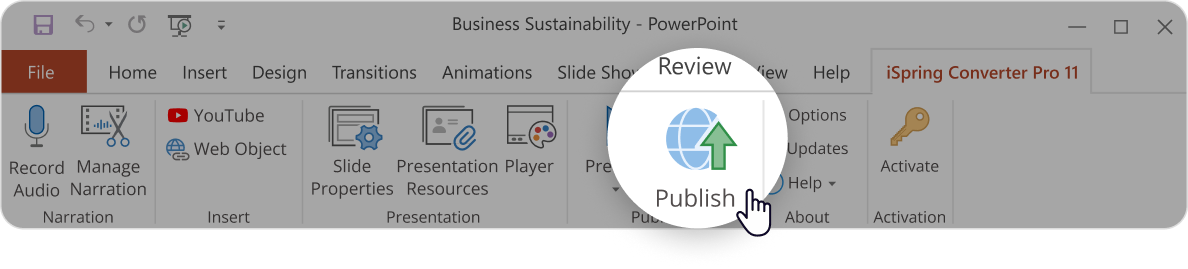
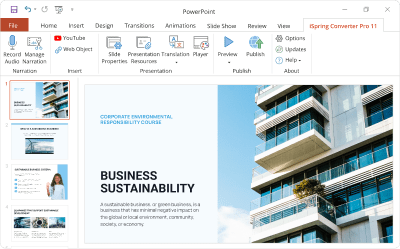
2. Open your PPT files and go to the iSpring Converter Pro tab.

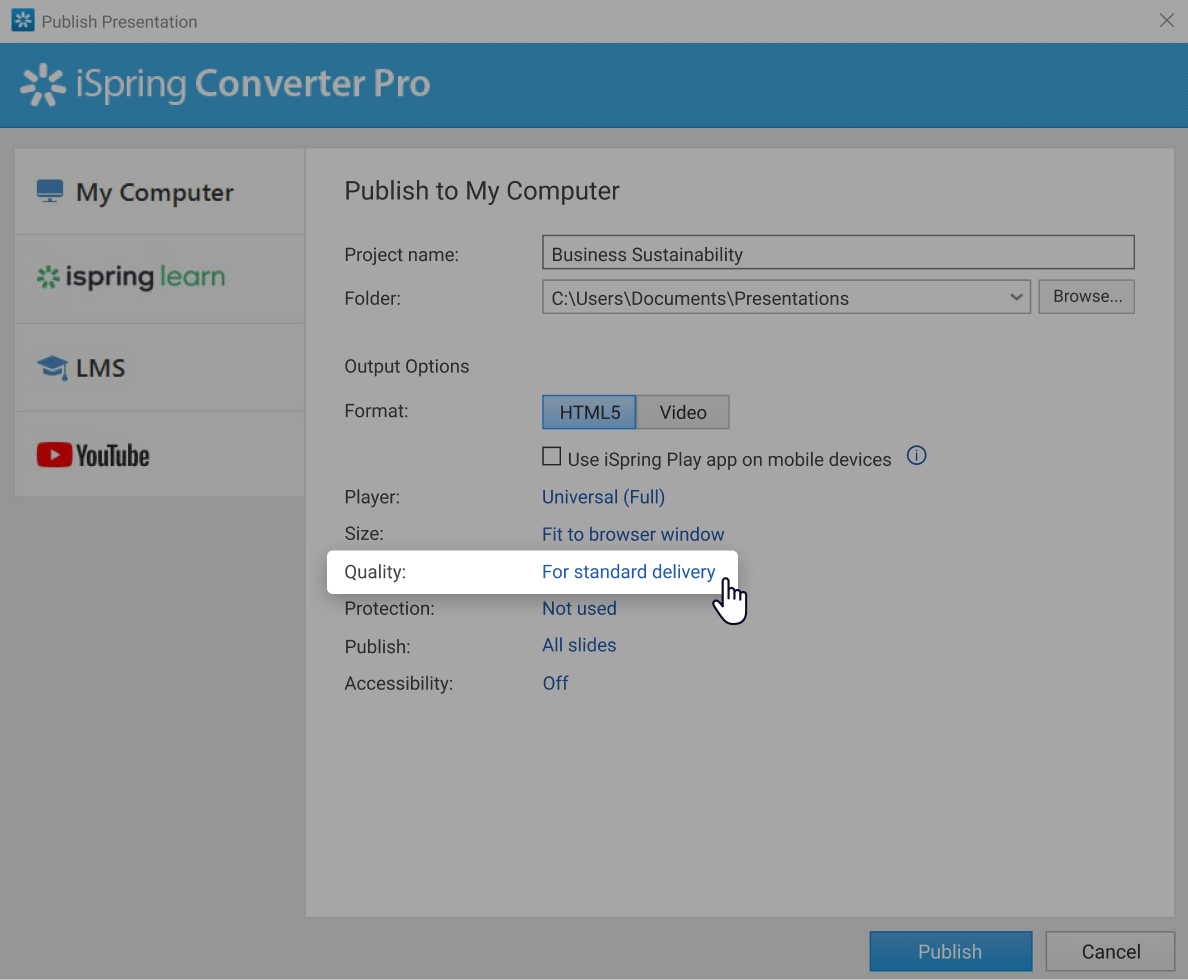
3. Click on Publish and select My Computer as the output option.
4. Click on For standard delivery in the Quality settings.
5. In the opened window, you can adjust the quality level for images, audio, and video. Note that the higher the quality of the media is, the larger the size of the output files will be.
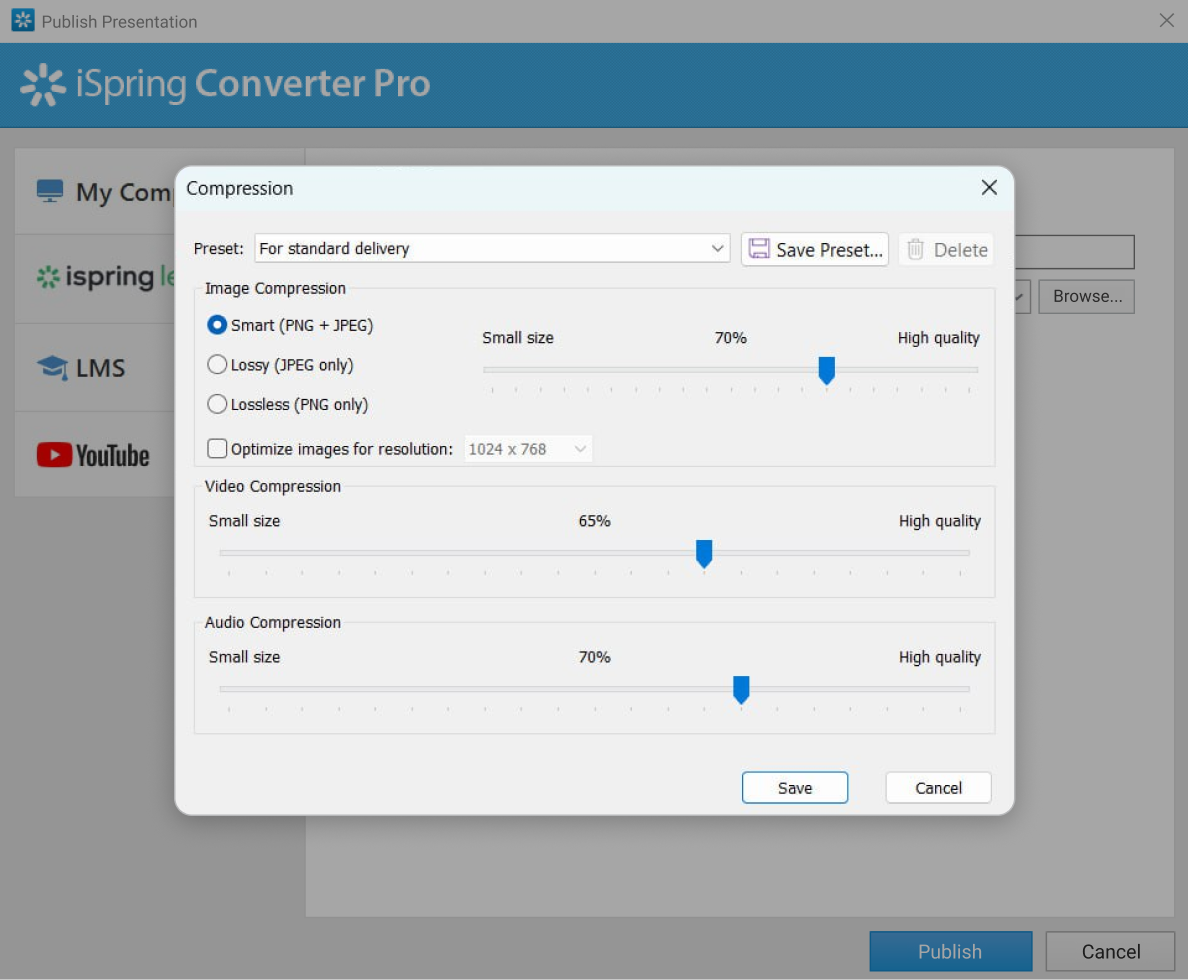
6. Click on Publish to generate an optimized HTML5 version of your presentation.
Unlike traditional PowerPoint compression methods, iSpring Converter Pro retains the full functionality of your presentation, making it smaller, interactive, and easy to share on any device.
Large PPT files can be difficult to manage, but with the right compression techniques, you can improve performance and make file sharing effortless. Whether you use built-in PowerPoint tools, save your presentation as a PDF, or opt for more with an iSpring Converter Pro free trial, there’s a solution for every need.
Create online courses and assessments in record time.
How to Make a Training Video Right in PowerPoint
How to Insert a PDF into PowerPoint: 3 Quick & Easy Ways
How to Record and Add Narration to a PowerPoint Slides